
 printer driver Uninstall” alt=”Kyocera Printer Driver Uninstall Image”>
Introduction
Explanation of Kyocera Printer Driver Uninstall
Kyocera printer is a widely used printing device in various organizations and institutions. Printer drivers are software programs that work as intermediaries between the printer and the computer. They help in the smooth functioning of printing operations and improve its performance. However, at times, the printer drivers may cause issues, which may require an uninstallation. Kyocera printer driver uninstall refers to the process of removing the printer driver from your computer or laptop.
Importance and Benefits of Proper Uninstallation
Ensuring a proper uninstallation process is necessary to avoid any potential issues that may arise later. Failing to remove the driver completely may result in system errors, conflicts with other applications, or even system crashes. Proper uninstallation of the Kyocera printer driver can help eliminate any remaining files or registry entries that may have been left behind. This can free up valuable hard drive space and improve the system’s performance.
Moreover, proper uninstallation ensures that your computer or laptop runs smoothly with other devices and applications. It ensures that any issues that may have been caused by incompatible drivers or remnants of the printer driver are resolved. Proper uninstallation also ensures the safety and security of your data as it eliminates any potential threats like malware or viruses that might have been present in the driver files.
In conclusion, Kyocera printer driver uninstallation is vital for maintaining the smooth running of your computer system while ensuring safety and security in data management. It is essential to ensure proper and complete uninstallation to avoid any potential issues caused by the remnants of drivers.
Preparation for Kyocera Printer Driver Uninstall
Back up necessary files and documents
Before uninstalling the Kyocera printer driver, it is important to back up any necessary files and documents. This can be done by saving them to an external hard drive, cloud storage, or a USB drive. By doing this, you can ensure that important files are not lost during the uninstallation process.
Ensure all Kyocera printer applications are closed
It is important to make sure that all Kyocera printer applications are closed before uninstalling the printer driver. This can include any printing tasks or applications that are currently running. Failure to close these applications can cause errors during the uninstallation process.
Download the latest Kyocera printer driver
After uninstalling the previous Kyocera printer driver, it is recommended to download the latest version of the printer driver. This ensures that you have the most up-to-date and compatible version installed on your computer. The latest driver can be downloaded from the Kyocera website or through the printer’s installation disc.
In conclusion, proper preparation is essential before uninstalling the Kyocera printer driver. Backing up important files, ensuring all printer applications are closed, and downloading the latest driver will help ensure a smooth uninstallation process.
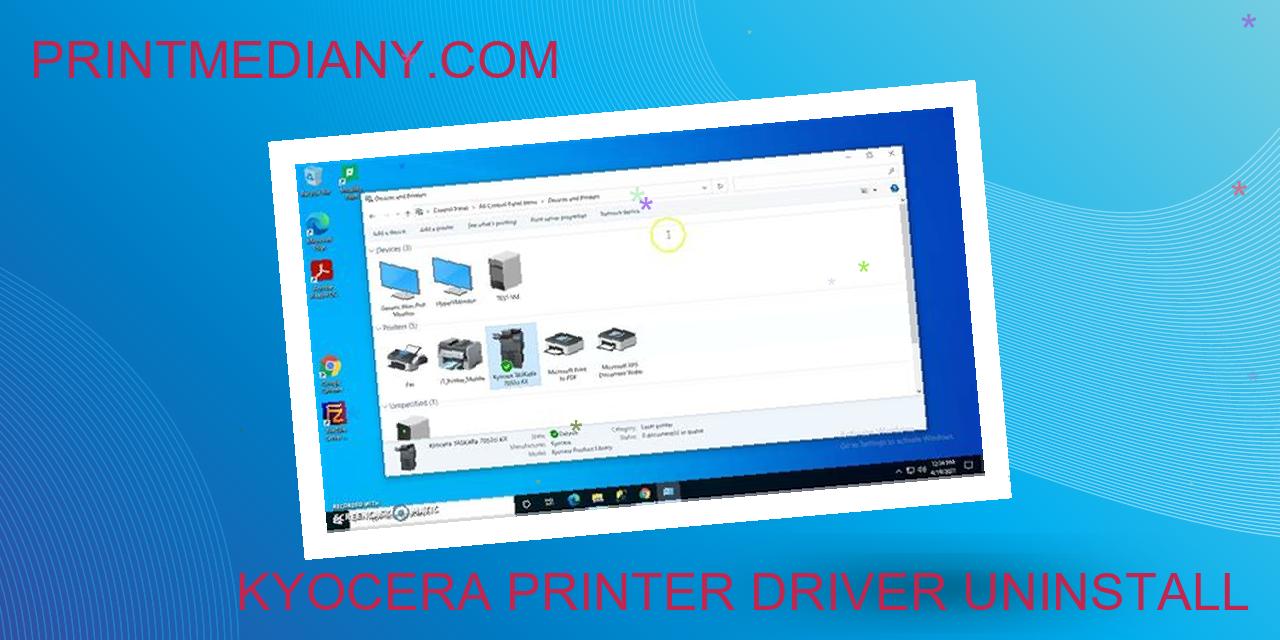
Uninstalling Kyocera Printer Driver Software with Control Panel
Open the Control Panel on Your Computer
Read more:
- Kyocera Printer Driver Update: Keep Your Printer Running Smoothly
- Kyocera Printer Driver Installation Made Easy: Step-by-Step Guide
- Kyocera Printer Driver Download â Easy and Fast Printer Driver Installation!
The first step in uninstalling Kyocera printer driver software is to open the control panel on your computer. Depending on the version of Windows you are running, you can access the control panel by clicking on the start button and typing in “Control Panel” in the search bar.
Select ‘Programs and Features’
Once you are in the control panel, you need to select the “Programs and Features” option. This will display a list of all the programs installed on your computer.
Find the Kyocera Printer Driver Software
Now that you are in the “Programs and Features” section, you need to locate the Kyocera printer driver software that you want to uninstall. You may have to scroll through the list to find it.
Click ‘Uninstall’
Once you have found the Kyocera printer driver software, click on it to highlight it, then click on the “Uninstall” button. This will start the uninstallation process.
Follow the On-Screen Prompts to Complete the Uninstallation Process
Finally, follow the on-screen prompts to complete the uninstallation process. Depending on the software, you may be asked to confirm the uninstallation or answer some questions before the software is completely removed from your computer.
By following these simple steps, you can easily uninstall Kyocera printer driver software using the control panel on your computer.
Uninstall Using Kyocera Uninstaller Tool
If you’re looking to uninstall Kyocera printer driver software, the easiest way to do so is by using the Kyocera Uninstaller Tool. This tool is specifically designed to help you uninstall Kyocera printer driver software quickly and efficiently.
Download and Install the Kyocera Uninstaller Tool
The first step to uninstalling the Kyocera printer driver software is to download and install the Kyocera Uninstaller Tool. You can find this tool on the Kyocera website or by doing a quick search online. The installation process is straightforward and should only take a few minutes to complete.
Open the Uninstaller Tool
Once you have installed the Kyocera Uninstaller Tool, open it up and look for the list of installed software. This list should include all of the Kyocera printer driver software that is currently installed on your computer.
Select the Kyocera Printer Driver Software
Look for the specific Kyocera printer driver software that you want to uninstall from the list. Once you have found it, select it to begin the uninstallation process.
Click ‘Uninstall’
After selecting the Kyocera printer driver software, click the ‘Uninstall’ button to start the uninstallation process. This will initiate the removal process for the selected software.
Follow the On-Screen Prompts to Complete the Uninstallation Process
Finally, once you have clicked ‘Uninstall’, simply follow the on-screen prompts to complete the uninstallation process. The entire process should only take a few minutes to complete, and once finished, the Kyocera printer driver software will be fully removed from your computer.
How to Manually Uninstall a Program
Uninstalling programs from your computer can help free up disk space and improve your system’s performance. While most programs include an uninstaller that you can use to remove them, sometimes these utilities fail to complete the removal process. In such cases, you can manually uninstall the program using some simple steps.
Step 1: Stop Associated Processes in Task Manager
Before you start the manual uninstallation process, make sure you close all the running processes associated with the program you want to uninstall. To do this, open the Task Manager by pressing “Ctrl+Shift+Esc,” click the “Processes” tab, and look for any process related to the program you want to remove. Select the process and click “End Task.”
Step 2: Delete Related Folders and Files in File Explorer
Once you have stopped all the associated processes, you can delete the related folders and files of the program from your computer. To do this, open the File Explorer and locate the installation folder of the program. Right-click the folder and select “Delete” to remove it from your system. Then, go to the “C:\Program Files” or “C:\Program Files (x86)” folder, find the program’s folder, and delete it from there.
Step 3: Delete Related Registry Entries in Registry Editor
The last step is to remove any related registry entries of the program from your system’s registry. To do this, open the Registry Editor by pressing “Windows+R,” typing “regedit” in the Run dialog box, and pressing “Enter.” Navigate to the following keys and delete any related entries:
- HKEY_CURRENT_USER\Software\Program Name
- HKEY_LOCAL_MACHINE\SOFTWARE\Program Name
- HKEY_LOCAL_MACHINE\SOFTWARE\Microsoft\Windows\CurrentVersion\Uninstall\Program Name
Make sure you only delete the keys related to the program you want to uninstall.
By following these simple steps, you can manually uninstall a program from your computer. However, be careful when editing your system registry, as deleting the wrong entries can cause serious issues with your operating system.
Restart Your Computer to Complete the Uninstallation Process
If you have recently uninstalled any software from your computer, it is important to restart your computer to complete the process. This ensures that all the files associated with the software are fully removed from your device, which helps to prevent any potential conflicts or issues from occurring.
Restarting your computer is a quick and easy process. Simply click on the Start menu and select “Restart” from the options. Alternatively, you can press the “Ctrl+Alt+Delete” keys and select “Restart” from the menu that appears.
Check That All Kyocera Printer Driver Software Has Been Successfully Uninstalled
If you have uninstalled Kyocera printer driver software, it is important to make sure that all the files associated with the software have been fully removed from your computer. This helps to ensure that the driver software is not causing any issues or conflicts with other software on your computer.
To check that all Kyocera printer driver software has been successfully uninstalled, you can look for any remaining files or folders associated with the software. You can also check your list of installed software in the Control Panel to see if the Kyocera printer driver software is still listed. If it is, you may need to repeat the uninstallation process.
In conclusion, restarting your computer after uninstalling software is an important step to ensure that all files associated with the software are fully removed from your device. Additionally, checking that all Kyocera printer driver software has been successfully uninstalled can help to prevent any potential conflicts or issues from occurring on your computer.
Tips and Warnings for Uninstalling Kyocera Printer Driver
Uninstalling a Kyocera printer driver may seem like a simple task, but it can be quite tricky if precautionary measures are not taken. Here are some tips and warnings to follow to help you with the uninstallation process.
Ensure you have administrative access before attempting to uninstall any software
Administrative access is necessary to uninstall any software, including a Kyocera printer driver. Without administrative access, you will not be able to access the necessary files and folders needed for the uninstallation process. Make sure you have the right credentials and permissions before attempting to uninstall any software on your computer.
Contact Kyocera technical support if you encounter any issues during the uninstallation process
If you encounter any errors or issues during the uninstallation process or are unsure what steps to take, it is recommended that you contact Kyocera technical support for assistance. They can guide you through the process and provide expert assistance to help resolve any issues that you may encounter.
By following these simple tips and warnings, you can ensure that the uninstallation process for your Kyocera printer driver goes smoothly and without any hiccups.
Frequently Asked Questions about Uninstalling Kyocera Printer Driver Software
What if I accidentally uninstall the wrong Kyocera printer driver software?
If you have accidentally uninstalled the wrong Kyocera printer driver software, don’t worry. You can simply download and install the correct driver from the Kyocera website. Make sure to download the driver that matches your printer model and operating system.
How do I know if all the associated files and folders have been deleted?
After you have uninstalled the Kyocera printer driver software from your computer, you might want to check whether all the associated files and folders have been deleted.
To do this, go to the location where the driver was installed and check whether there are any files or folders related to the driver. You can also use a third-party uninstaller tool to scan for any leftover files and folders.
Do I need to restart my computer after uninstalling the Kyocera printer driver?
It is recommended that you restart your computer after uninstalling the Kyocera printer driver software. This will ensure that any changes made by the uninstallation process are properly applied.
However, if you are in the middle of an important task and cannot restart your computer immediately, you can choose to restart it later. Just make sure to restart your computer before installing the new driver.
Conclusion: Proper Uninstallation of Kyocera Printer Driver Software
If you are experiencing issues with your Kyocera printer or computer, it may be time to uninstall the printer driver software. However, it is crucial to properly uninstall the software to ensure the performance and stability of both your computer and printer.
Why Proper Uninstallation is Important
Properly uninstalling Kyocera printer driver software can prevent future issues that may arise from improper installation or incomplete software removal. Failing to remove the software correctly can lead to sluggish computer performance, error messages, and even system crashes.
How to Uninstall Kyocera Printer Driver Software
Fortunately, uninstalling Kyocera printer driver software is a simple process that can be completed in just a few steps. By following these instructions, you can safely and easily uninstall the software from your computer:
- Open the Control Panel on your computer
- Select “Programs and Features”
- Locate the Kyocera printer driver software and select it
- Click “Uninstall”
- Follow the on-screen instructions to complete the uninstallation process
By following these steps, you can ensure that the Kyocera printer driver software is fully removed from your computer.
In Conclusion
Properly uninstalling Kyocera printer driver software is crucial to maintaining the performance and stability of your computer and printer. By following the steps outlined in this article, you can safely and easily remove the software from your computer, preventing future issues and ensuring the best performance from your devices.